


Mechanical keyboards have grown in popularity over the years mostly by gamers and another niche group of mechanical keyboard enthusiasts that build and design their own keyboards. It’s not a cheap hobby, but learning about different materials, switches, keycaps, and aesthetics has become one of my favorite things. I decided to make a quick guide for either people looking to clean their mechanical keyboard or replace their keycaps. Some users recommend taking apart and cleaning the keyboard every six-to-twelve months, but it depends on the environment your keyboard is in and how strict you are about food and greasy fingers near your board. For this walkthrough, I'll be using a WASD v2 tenkeyless keyboard.
Step 1: Make sure your keyboard is mechanical
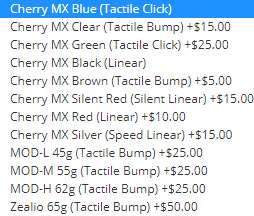
It sounds obvious, but there are “switch/membrane hybrid” keyboards that feel like they’re mechanical, but they are not at all. The easiest way to find out is looking up your keyboard online and looking to see what type of “switches” they use. These are some of the most common switches. You should be able to see your switch type listen in the specks of your board like this:

There are other switches like Topre and Electro Capacitive, but if you’re working with those you probably already know how to do this.
Step 2: Tools / Keycaps

I do not recommend you start this without a proper key puller. Fingers, knifes, coins, and other makeshift pry tools can break your switches or damage your keycaps. If you don’t have this tool, they are available at a lot of stores. I recommend the WASD Wire Keycap puller ($6) just because I’ve used them before and I like the company. Pretty much all wire pullers are the same, though.


Depending what type of switches you have, you’ll also want to be sure that your new keycaps or the ones that you are looking to buy are compatible. Cherry switches and many other common switches will have the “plus” stems, Topre has a circular stem, electro capacitive stems have both the plus and the circular stems, and Alps have a rectangular stem. Any online keycap store will be clear about their keycap compatibility, just make sure you know what your stems are!
Step 3: Pulling the keycaps

So it’s now time to get those caps off and clean the board and put on a new set! Slide the wire puller over the first cap until it wraps around the keycap. Make sure that the puller is only going to pull the keycap and not the whole switch itself. Next slowly pull up the keycap using the wire puller. If they’ve never been replaced before it may take a surprising amount of force - just do not yank or bend on the keycap.

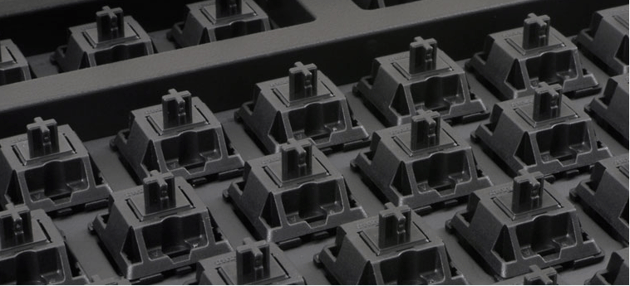
Once it’s off, you will be able to see the mechanical switch that was hiding under the keycap. The board I am using has Cherry MX blacks. They make it pretty easy to tell because the stem on the switch is black. You may have Green, Red, Blue, White, or another color. This just determines the “clickiness” of the switch.
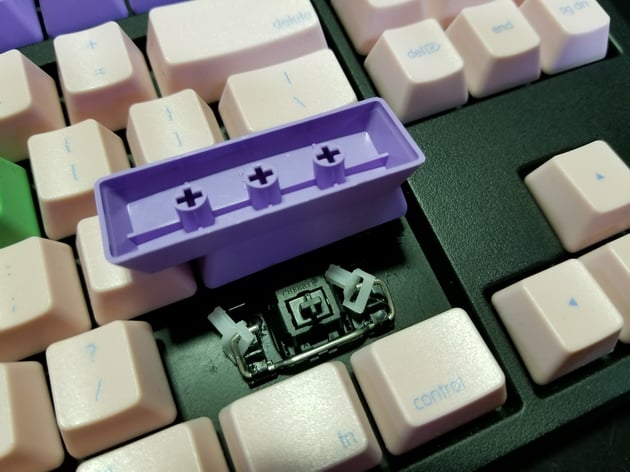
Step 4: Pulling the long keys
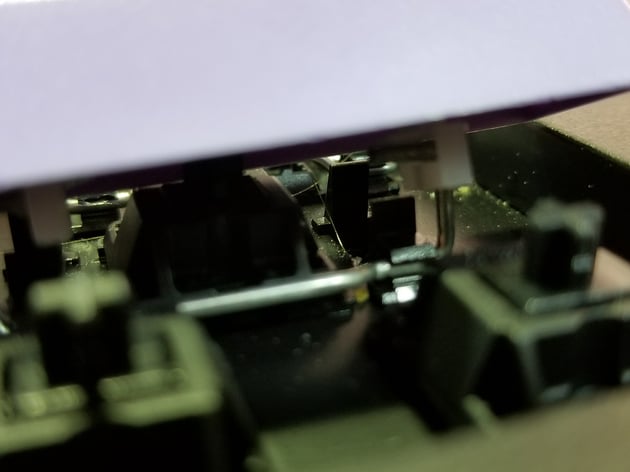
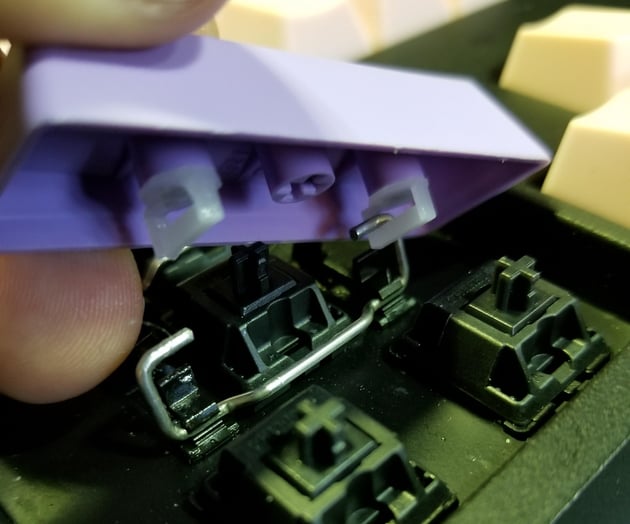
Pulling the space bar, enter, and shift keys can be tricky because they vary depending on the type of board. If it’s like mine, there is a wire that stabilizes the larger keys that is connected to each side of the key. The more you mess around with these setups, the less you’ll be nervous with them. They’re tougher than you may think, but it is always important to be careful.
The wire is held in by two small rings in the keycap. If they come out when you pull off the key, it is not a problem as they can be inserted back in. It is difficult to really explain how to take the key out and put it back in, but basically slide the key to one side using some force to free one of the loops from the wire, then slide the key the other way to get the other free. Putting the keycap back on is this process just backwards.
Step 5: Cleaning
Now that all the caps are off, the grime and crumbs are all exposed from hiding in between the keys. Use a compressed air can to get all the major stuff and a Q-Tip dipped in a little bit of water to really get in between the switches. Keycaps can be cleaned as well. I recommend using water only because some cleaners can ruin the dye or lettering on the keycap depending on the material it is made out of. Water and a cloth should be enough to clean pretty much anything that may be on your keycaps.
Step 6: Putting it all back together
This is the easiest part of the whole process. Hopefully you know the layout of your keyboard or have an image of the layout pulled up already, and it’s just a matching game from there. Make sure the keycap hole is over the stem correctly and press down until it clicks or you can feel that it won’t move further. The wire balanced keys are not easy to put back on, so I recommend doing those first to give you plenty of visibility and room to wrangle them. The process is the reverse of taking them off. Just remember that the longer side of the plastic piece that gets hooked by the wire points away from you when it’s in the board.
Next time, we’ll look at the different types of keycaps for mechanical keyboards from materials, colors, textures, prints, and noises!
Comment